Updating Your Gramaphone: V2.1 (May 2026)
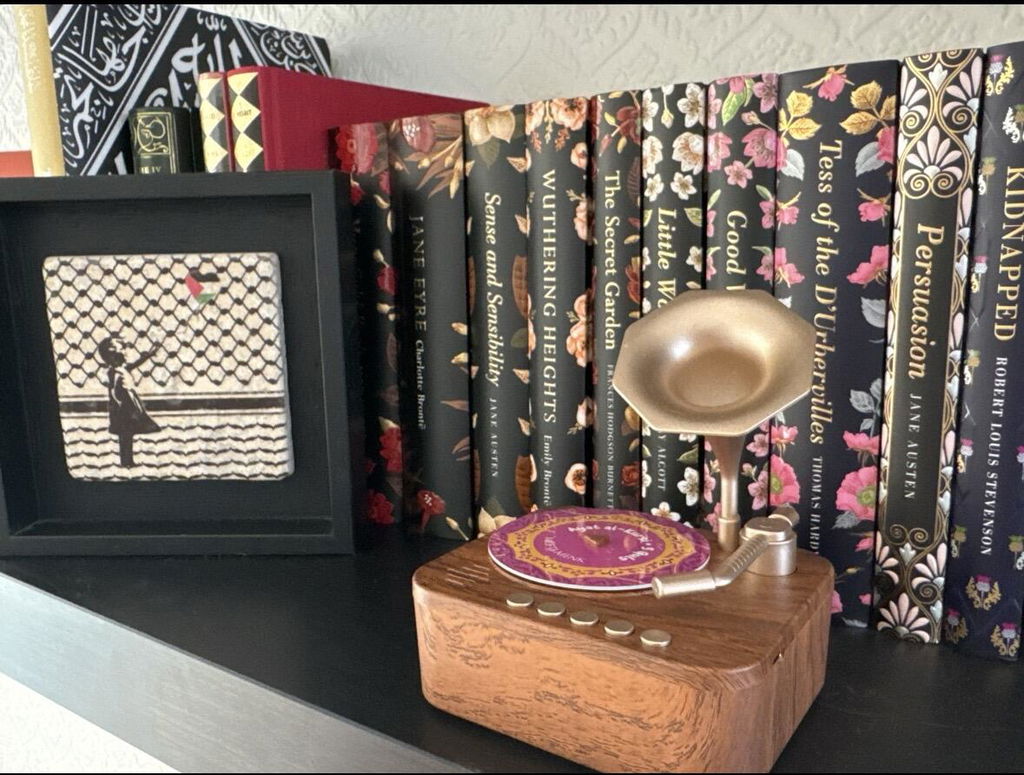
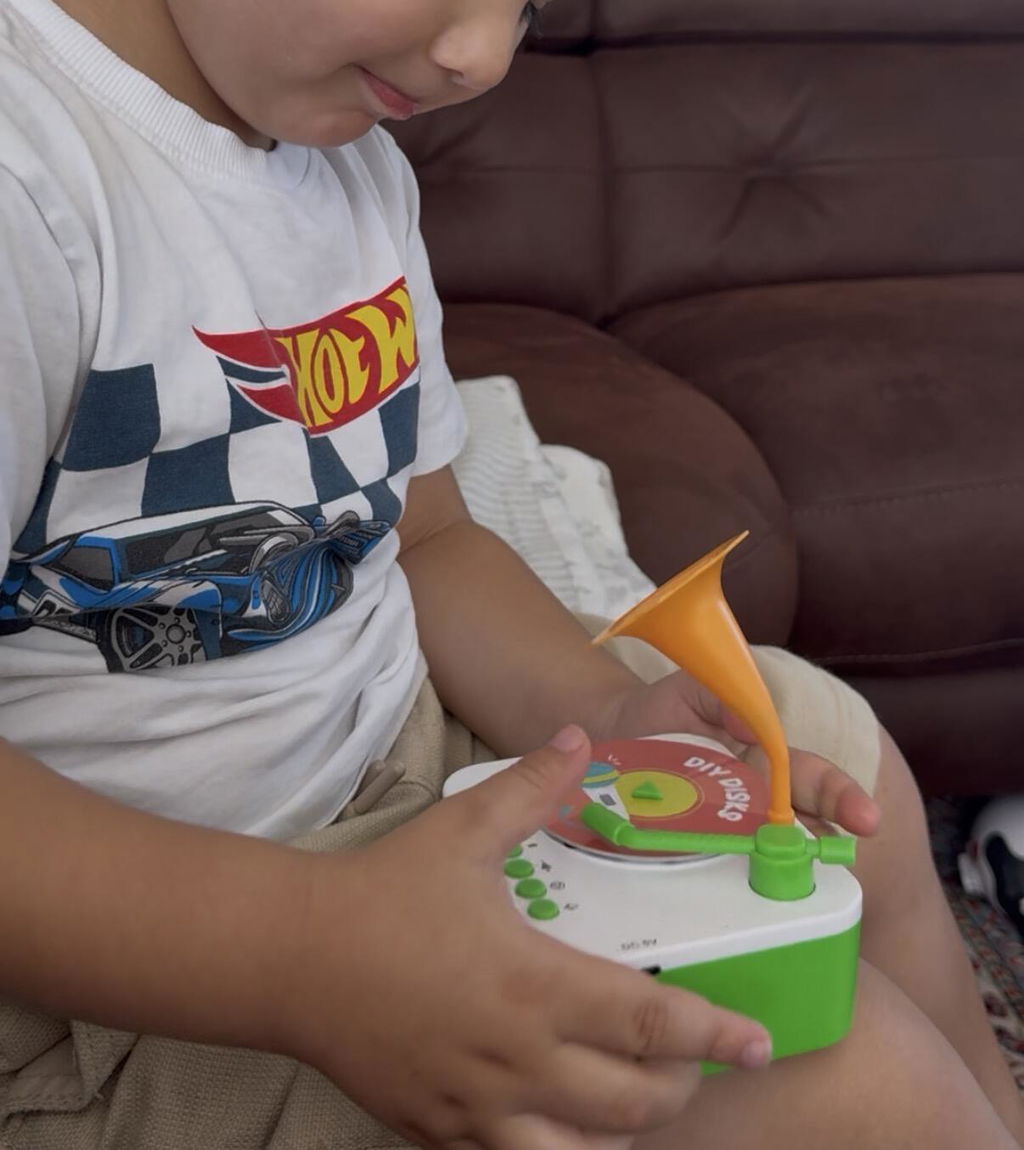

Gramaphone
V2.1 Update Instructions

  1. Connect your Gramophone to your computer Using the USB to USB-C cable provided, plug the USB-C end into your Gramophone and the USB end into your Mac or PC. 

  2. Open the device in Finder or Explorer. Your Gramophone will appear in the Finder sidebar as NO NAME. Click on it - you will see three folders inside: BOOK, RECORD and System. 


    Mac: Click Finder 

    Windows: Press Win + E to open File Explorer. 


  3. Open the BOOK folder and inside you will see a file called 2.tid. OR 3.tid - Select this file and press delete, or right-click and choose Move to Bin.


  4. Mac: We now need to format the device. 

    Mac: Open Disk Utility (search with Spotlight, or go to Applications > Utilities). Select your Gramophone from the list, click Erase and confirm when prompted. This clears the device ready for the new file. 

    Windows: Go to This PC. Right-click the Gramophone drive (NO NAME) and choose Format. Leave all settings as they are, click Start and confirm. This clears the device ready for the new file.


  5. Eject the device safely from your PC or Mac, click the eject icon. Wait for NO NAME to disappear from the sidebar before unplugging the cable. Do not pull out the cable without ejecting the device. 


  6. Switch the Gramophone on, wait for the gramaphone to start and then switch off again after 5 seconds. This is important - it allows the device to register the format correctly before the next step.


  7. Reconnect the device to your computer Plug the USB-C cable back into the Gramophone. It will reappear as NO NAME in the Finder sidebar or PC explorer.


  8. Click on NO NAME to open the drive, then double-click the BOOK folder. It should now be completely empty.


  9. Copy the new file into the BOOK folder. Drag and drop (or copy and paste) the new file 4.1.tid into the BOOK folder. Wait for the copy to finish completely, this will take approximately 6 minutes. Only when complete, then eject the device as in Step 5. 


    Access V4.1 File here

    Your Gramophone is now updated and ready to use! 


    This software update will fix any programming issues as well as update your Gramaphone to play all all new discs, including Juz Amma, Stories of the Prophets, Mini Muslims, Yusuf Islam Collection and the Nostalgia Collection. Not all these discs are available to purchase yet but when they are your Gramaphone is ready to use with them. 

How to'S AND faq's

Find the most frequently asked questions below.
  • We understand that you may wish to change colours.

    Usually we cannot change colours on pre-orders that have already been sent out.

    You can email us at info@littlepilgrims.co. If we are able to arrange a change of colour there will be admin cost of £7.99 and any item cost different to pay as per the breakdown below:

    Admin £1.50 + Shipping return fee - £2.99 + Replacement shipping fee - £3.50 + any item cost difference.

    The item must also be in re-sellable condition with all the discs and device in its original packaging.

    If the item has not been sent out then you are welcome to change colours for free.

  • Wood Effect pre-orders for May 2026 aim to be with customers by Mid May.

    Please note, as mentioned during the order process there are no exchanges or returns available for Wood Effect pre-orders. Including if you change your mind.

  • If you ordered one colour and recieved a different colour.

    We're sorry! We were in a hurry to get your item to you and mistakenly gave you the wrong colour.

    As this is our fault, we will arrange for a return label to be sent to you. You simply print this out and follow the return instructions on your email.

    We will then arrange a replacement to be sent out to you asap.

    You can email us at info@littlepilgrims.co

  • To use the DIY Self Recording Discs please follow the instructions below:

    1. Place the DIY disc onto the Gramaphone

    2. Switch on the device using the turntable

    3. Press the record button (on the far right). You just need to press this once.

    4. The device will say 'Record when the green light flashes'. And then the green light will flash

    5. Start speaking

    6. When finished, simply switch off the device using the turntable.

    7. To listen to the recording simply switch on the device using the turntable again.

  • Sometimes during production we miss the mark. This means some customers receive defective devices.

    If your gramaphone is not working please email us at info@littlepilgrims.co and we will tell you what to do next so we can get a repalcement on the way.

    In the meantime, take some videos of you using the device so we can try also pinpoint if you can rectify the issue yourself.